When you’re just starting out in astrophotography, it’s tempting to rush outside every time you see stars. But not every clear night is equal. The atmosphere, the Moon, and the conditions around you all shape what kind of image you’ll get – and whether it’s worth setting up at all.
This isn’t about chasing perfection. It’s about learning the rhythm of the sky. Understanding what makes a night worth your time – and when to rest and plan for the next one.
Here’s how to read the weather, light, and sky with intention – so you can spend more time capturing and less time guessing.
Clear Skies Aren’t Always Enough
A cloudless forecast doesn’t guarantee success. There are subtler forces at play:
- High humidity can cause haze and blur detail, especially near the horizon.
- Wind can shake your setup and soften stars.
- Temperature swings can cause condensation or dew on optics.
- Thin, high clouds (cirrus) may be invisible to the eye but show up in long exposures.
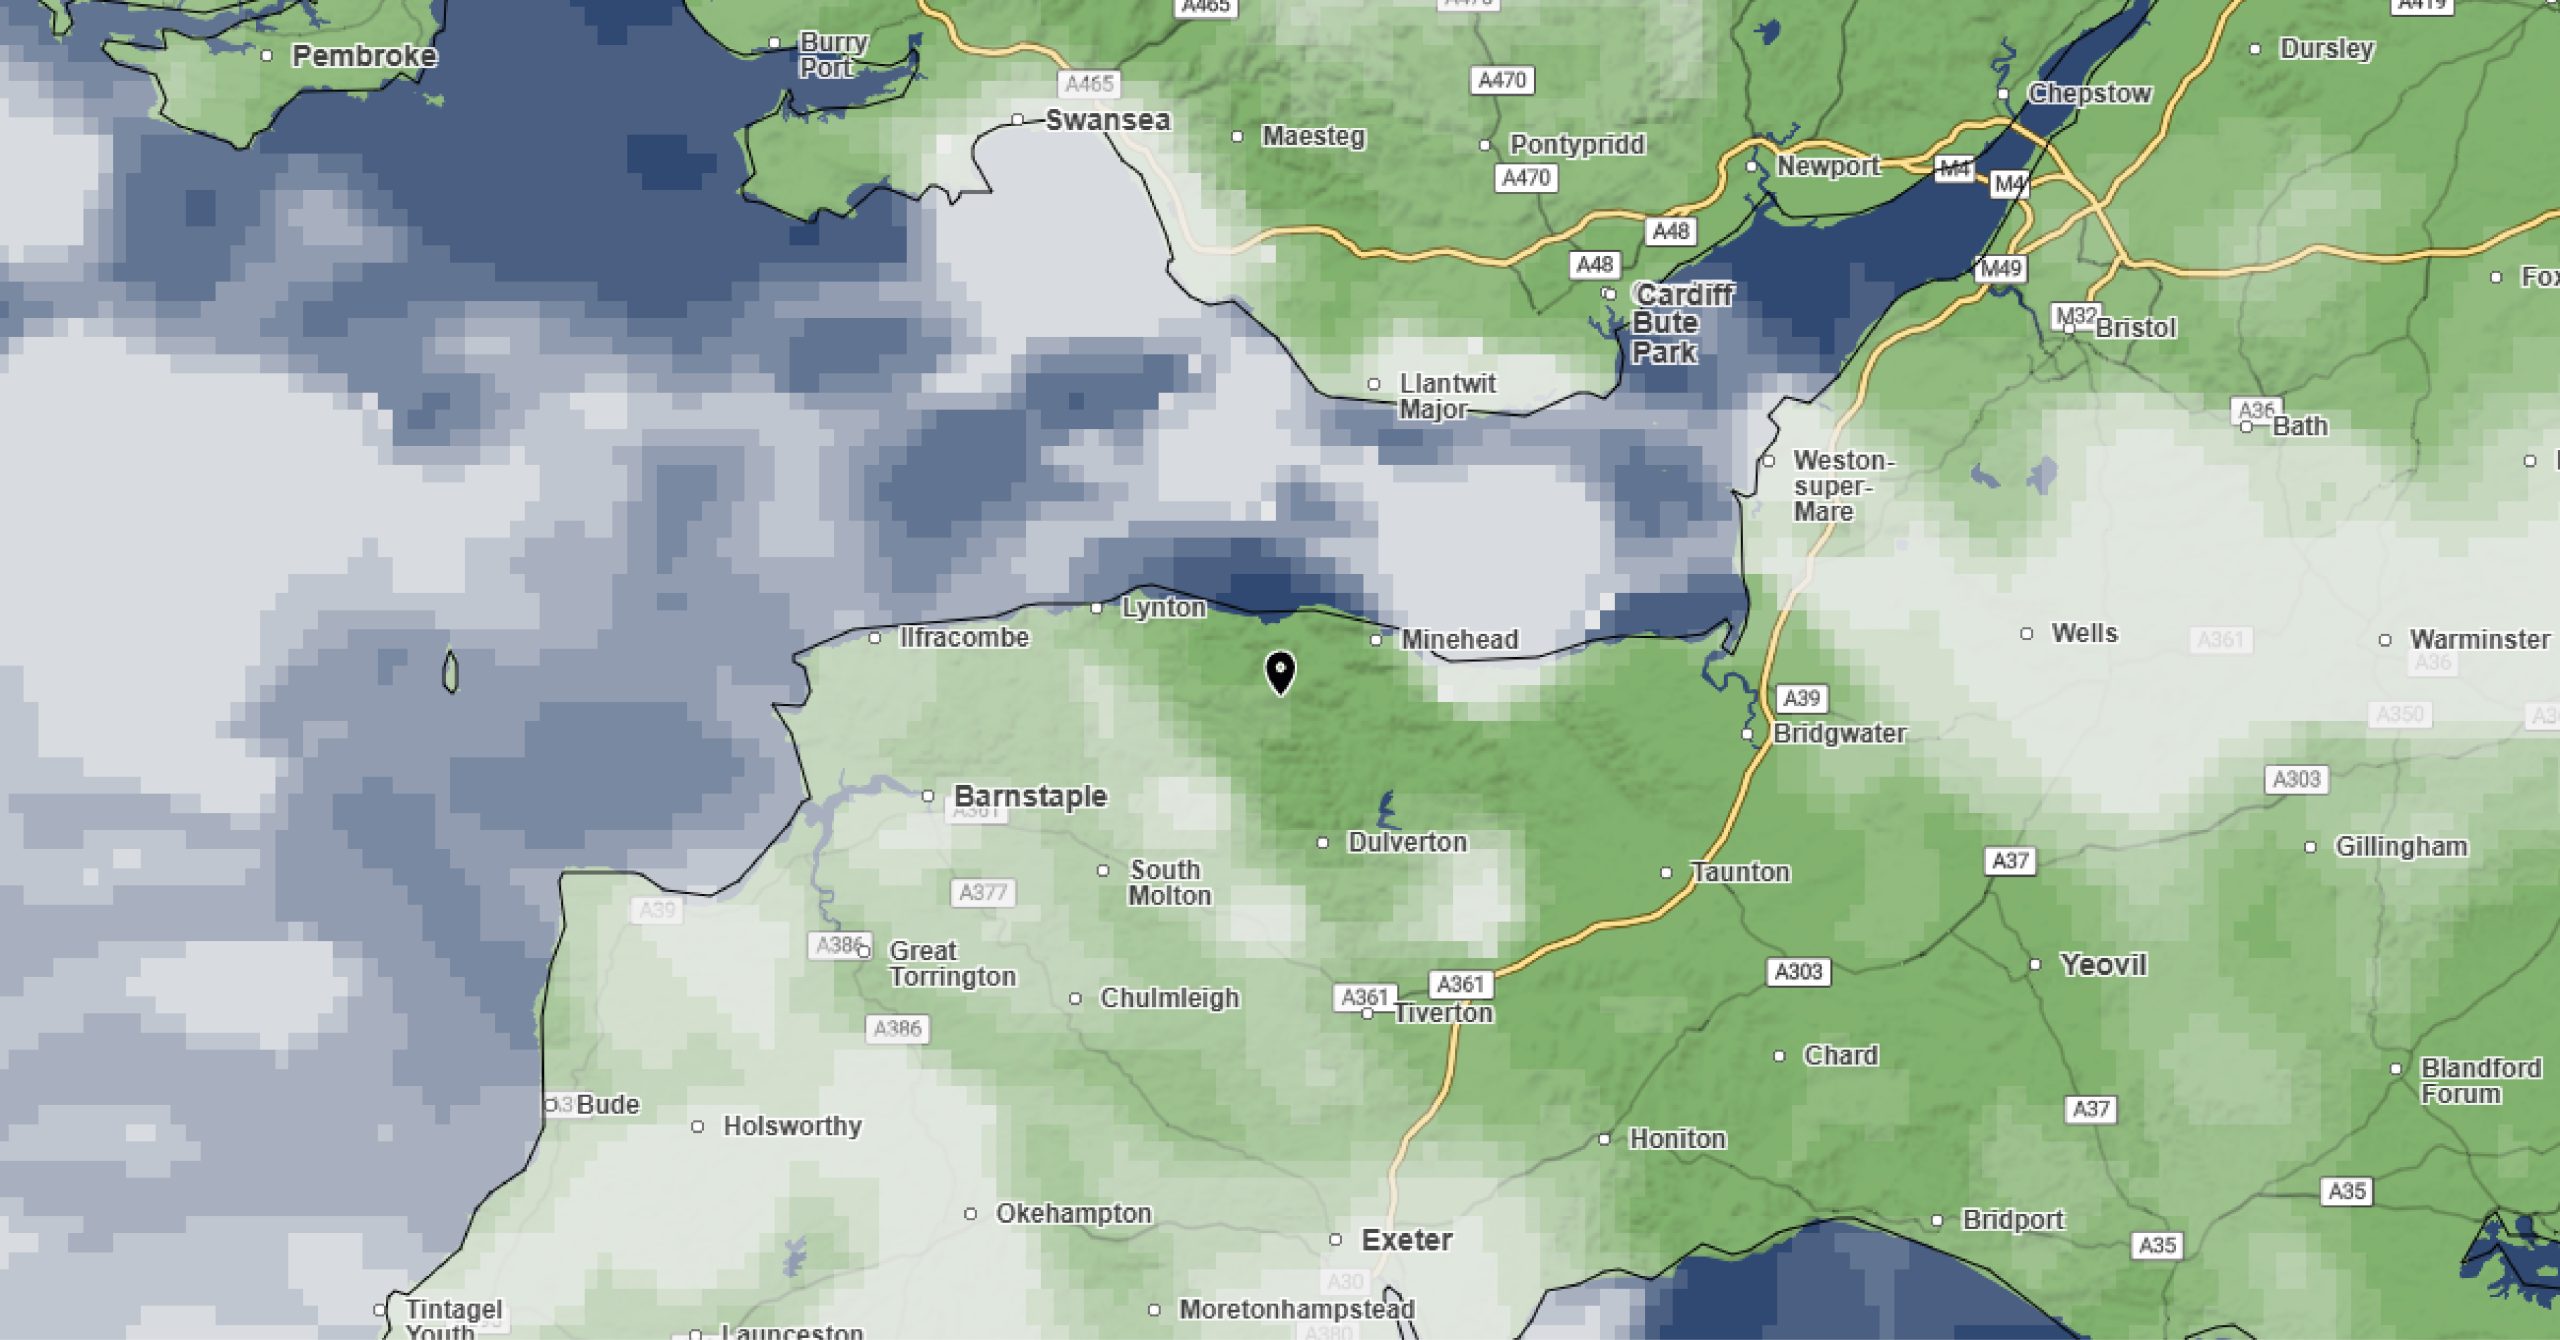
Use a dedicated forecast tool like Clear Outside, AstroWeather, or Meteoblue to go beyond the basics. These show cloud layers, transparency, seeing conditions, wind speeds, and moonlight.
Atmospheric Seeing vs. Transparency
These two terms describe very different things:
- Transparency is about clarity – how clear and dark the sky is. It’s affected by moisture, haze, smoke, or light pollution.
- Seeing is about stability – how still the atmosphere is. Poor seeing makes stars wobble and blur, especially at high magnification.
For deep sky imaging, transparency matters more. For planetary or lunar work, good seeing becomes essential.
Even a perfect sky can be ruined by turbulent air or mist that scatters light. That’s why learning to check these conditions helps you avoid wasted sessions.
The Moon Isn’t Your Enemy – But It Does Compete
The Moon is beautiful, but it’s bright – and that brightness overwhelms faint objects like nebulae or distant galaxies. A few things to keep in mind:
- For most deep sky imaging, the new Moon (or a few days either side) is best.
- During the first and last quarters, aim for brighter DSOs or shoot in the opposite part of the sky.
- During a full Moon, consider imaging the Moon itself – or doing narrowband imaging (like hydrogen-alpha) that cuts through moonlight.
Use PhotoPills or Sky Guide to check Moon phase, rise and set times, and how high it will be during your session.
Light Pollution – Always Present, Not Always Limiting
You don’t need perfect skies to get started. But knowing your Bortle class (1 = darkest, 9 = brightest) helps set expectations.
In light-polluted areas:
- Stick to brighter targets like Andromeda, the Pleiades, or open star clusters.
- Consider using a light pollution filter (like the Optolong L-Pro) with colour cameras.
- Aim to image when the Moon is low or absent, and keep objects as high above the horizon as possible.
Travelling to a darker site makes a visible difference – but don’t wait for perfect conditions. Learn your local sky, and work with what you have.
Planning Makes The Difference
Rather than chasing every opportunity, look ahead and pick your moments. Use:
- Clear Outside – for hour-by-hour cloud forecasts and darkness windows.
- PhotoPills – for Moon phase, rise/set times, and target planning.
- Light Pollution Map – to find nearby darker sites if needed.
- Windy, Met Office, or YR.no – for more detailed weather analysis.
A little time spent planning saves you hours of frustration – or standing in the cold wondering why your stars are soft.
Final Thoughts: Know The Sky, Work With It
Astrophotography isn’t about control – it’s about alignment. With the gear, yes. But also with the sky itself. When you learn to read conditions – to notice the quiet things, like haze on the horizon or the Moon’s subtle wash – you start to feel connected to the rhythm above.
Some nights are meant for imaging. Others are for watching. Knowing the difference is one of the first real signs that you’re becoming an astrophotographer.