When you’re just starting out in deep sky astrophotography, one piece of equipment makes all the difference: the star tracker. These small, motorised mounts are designed to move your camera in sync with the Earth’s rotation – letting you take longer exposures without turning stars into streaks.
If you’ve ever tried shooting the night sky from a tripod, you’ll know the frustration. After a few seconds, stars start to drift. You’re limited to quick snaps of constellations or the Milky Way. But the moment you start tracking the stars properly, the universe opens up.
So how do you choose the right star tracker? Here’s everything you need to know – clearly explained, and written for beginners who want to get it right the first time.
What Does a Star Tracker Do?
The Earth rotates constantly, which makes the stars appear to move slowly across the sky. A star tracker counters that movement, turning at the same speed in the opposite direction. That means your camera can “stay still” relative to the stars, even during long exposures.
This allows you to:
- Take exposures of 1–5 minutes (or more).
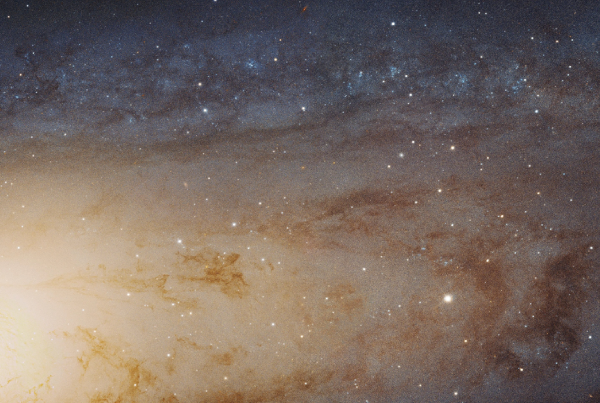
- Capture faint deep sky objects like nebulae and galaxies.
- Keep stars sharp and pinpoint, rather than streaked.
Without one, most deep sky imaging simply isn’t possible.
What Should You Look for in a Tracker?
Not all trackers are the same. Some are designed for portability, others for precision or heavier gear. Here are the main things to consider:
1. Payload Capacity
Check how much weight the tracker can carry. This includes your camera body, lens or telescope, ball head or mounting gear, and anything else you attach.
- For just a DSLR or mirrorless camera with a lens, most entry-level trackers will cope well.
- If you plan to use a small telescope, you’ll want a higher capacity tracker.
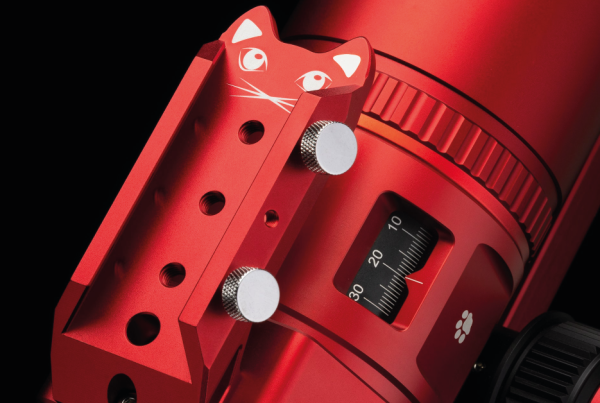
2. Polar Alignment Method
To work correctly, trackers need to be aligned with the North Celestial Pole (near Polaris). Trackers often include:
- A polar scope – a small optical sight for lining up Polaris.
- A built-in app or companion tool to help you find the right alignment.
- Alt-azimuth bases to make fine adjustments easier.
Some newer models even offer automatic alignment or assisted alignment via your phone.
3. Portability and Power
Are you travelling to dark sky sites? Then weight and battery life matter.
- Most trackers are portable enough for a backpack.
- Power can come from AA batteries, USB power banks, or dedicated battery packs.
- Some trackers let you swap between northern and southern hemispheres, which is handy if you travel.
Popular Trackers for Beginners (and Beyond)
Here are a few well-regarded models that suit different needs. We’ll highlight the names in bold so you can add your affiliate or sponsor links later.
Sky-Watcher Star Adventurer 2i
- A favourite among beginners and intermediates.
- Handles heavier setups, including small refractor telescopes.
- Comes with a polar scope and optional equatorial wedge.
- Offers WiFi control via mobile app.
- Runs on 4 AA batteries or USB power.
A great all-rounder that many people stick with for years.
iOptron SkyGuider Pro
- Similar in capability to the Star Adventurer.
- Slightly more compact body.
- Built-in rechargeable battery (around 20 hours per charge).
- Supports auto-guiding, if you expand later.
Well built and precise, especially if you plan to grow your kit.
Move Shoot Move Tracker
- Ultra-lightweight and small – ideal for travel.
- Best suited to wide-field photography with shorter lenses.
- Less ideal for heavier gear or deep tracking.
- Quick to set up, and polar alignment can be done with your phone.
Perfect for those who want a simple, highly portable option.
Sky-Watcher Star Adventurer Mini (SAM)
- A slimmed-down version of the 2i.
- Controlled via app.
- Good for DSLR and lens, but not built for telescopes.
- Compact and user-friendly.
A solid stepping stone before investing in a larger system.
What Else Will You Need?
To make the most of your tracker, don’t forget these key extras:
- A sturdy tripod – the tracker is only as stable as what it sits on.
- A ball head or dovetail mount – to attach your camera securely.
- A remote shutter release or intervalometer – to take repeated long exposures without touching the camera.
- A small red torch – to help you see without ruining your night vision.
Some trackers come in a “Pro Pack” or “Astrophotography Bundle”, which often includes the extras you’d buy separately. These can offer good value.
How Much Should You Spend?
Most beginner-friendly trackers sit in the £200–£400 range, depending on whether you buy new, used, or bundled with extras.
That price might feel like a big jump if you’re used to basic photography gear – but it’s often the single biggest upgrade you can make when moving from wide-field shots to deep sky imaging. It’s also gear you’ll likely keep using for years, even if the rest of your kit changes.
Final Thoughts: Your Tracker Is Your Foundation
Choosing your first star tracker is a milestone – it’s the point where your camera starts to follow the stars, rather than chasing them. It’s where the faint details emerge, where exposure times stretch, and where the galaxies start to show themselves.
Pick something reliable, learn how to set it up well, and practise under the stars. Even if your early sessions are a bit rough, the tracker will carry you forward – literally – into the deep sky.
Every great astrophotographer had a first successful night. Your tracker is how you’ll get there.