When you take a long-exposure photo of the night sky without aligning your mount, stars become trails rather than points. That trailing is not dreamy- it’s a sign that your camera is not tracking the sky properly. Proper polar alignment is the secret that keeps stars sharp and your images crisp.
Polar alignment is the process of aligning your tracking or equatorial mount so that it rotates in sync with the Earth’s axis. It might sound technical, but it can be learned in a few steps, using just a bit of care, patience, and a clear night.
Understand What Polar Alignment Does
Imagine spinning a globe with an axis that points straight up. If you place your camera and telescope on a mount aligned with that axis, the stars appear to stay still in your frame – even during exposures of several minutes. Without that alignment, your stars will drift, and your deep sky images will lose clarity.
When done well, polar alignment transforms your mount from a stationary stand into a dynamic partner, following the sky’s motion throughout the night. Long exposures become sharper and stacking images becomes more effective.
Set Up Your Mount And Level It
Good polar alignment begins with the basics. Choose a stable location – ideally near your north-south axis point. Extend the legs of your tripod and use a bubble level or spirit level to ensure it is level. A well-leveled tripod makes the polar alignment process smoother and more accurate.
If you are using a star tracker, set it up according to the manufacturer’s instructions. For larger equatorial mounts, balance your payload (camera or telescope) first so the mount holds it steady without strain.
Locate Polaris And Use The Polar Scope
In the northern hemisphere, polar alignment centres on Polaris, the North Star. Most mounts designed for astrophotography include a small polar scope – a built-in peephole with reticle markings that help you position Polaris in the correct spot.
Look through the polar scope, rotate the adjustment knobs, and centre Polaris within the reticle. Some mounts include a smartphone app or compass to help align your kit before you start, so you don’t spend too long fiddling in the dark.
Fine Tune Your Alignment
Once Polaris is centred, tighten the mount’s clamps so nothing moves. For a more accurate alignment, some setups allow you to perform a drift alignment – watching a star’s slow drift and adjusting until it no longer moves in the frame. This method can take time, but it yields excellent precision.
Many modern tracking mounts also offer a polar alignment routine using a smartphone app. They guide you through making fine adjustments until the alignment is optimised. It is quick and easy, and a great option for beginners.
Check It With A Test Exposure
After you think you are aligned, take a test exposure of around 30 seconds. Review the image carefully. Sharp points mean you are aligned well. Slight oval elongation suggests you may need to tweak your adjustment knobs.
Each time you set up your kit, it is worth re-checking alignment. Even a well-aligned mount can shift if moved, bumped, or if the tripod legs settle.
What Happens If Alignment Is Off
Poor polar alignment results in stars that form short trails during exposures. That means only images of a few seconds will be sharp – which limits your ability to capture fainter objects. You may also struggle to stack images effectively, because stars shift slightly between frames.
Getting alignment right does not have to take ages. With practice, setting up your kit and polar aligning can be a quick, quiet ritual before you begin imaging.
Polar Alignment Tools & Apps
Once you’re familiar with the basic process, there are tools that can make polar alignment faster, more precise, or simply less fiddly in the dark. Some work with built-in sensors, others use your camera or a small guiding setup to analyse your alignment and guide your adjustments.
These are especially useful when imaging from different locations or when time is limited.
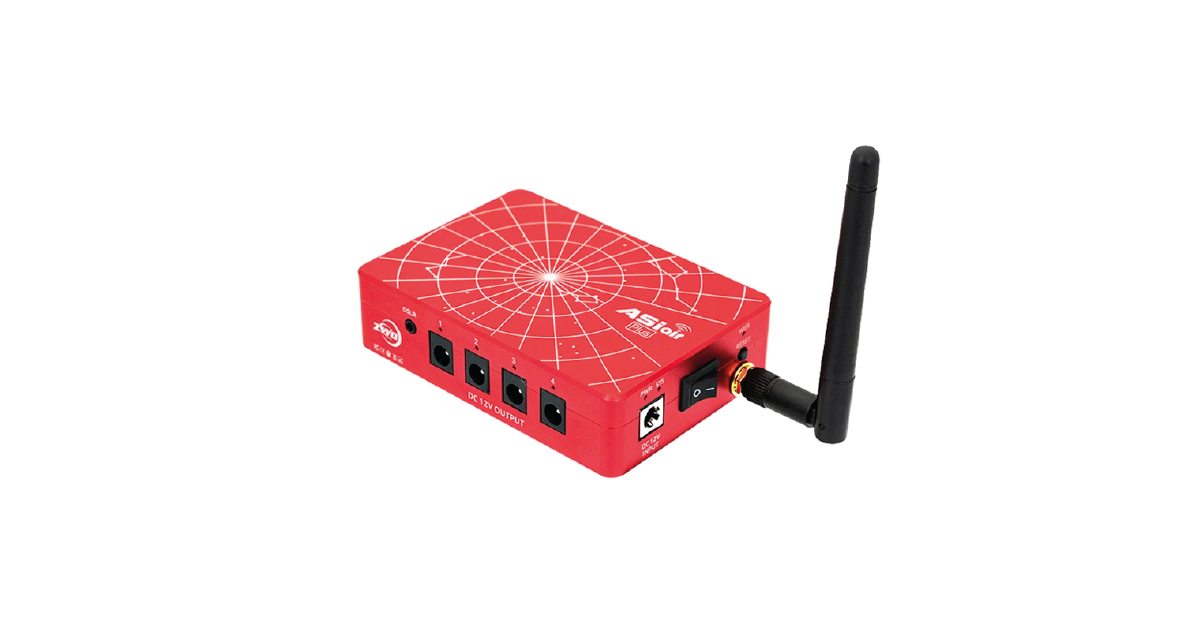
- ASIAIR (ZWO) – A compact smart controller that handles polar alignment, guiding, imaging, and more. Its polar alignment routine is visual, guided, and easy to follow. Works with compatible ZWO cameras and mounts.
- SharpCap (Windows software) – Popular with users who have a dedicated guide camera or astro camera. Its polar alignment assistant uses your camera’s live feed to analyse errors and show how to adjust your mount.
- iOptron iPolar – A built-in electronic polar scope available on some iOptron mounts. It shows a live sky view and overlays guidance on where Polaris should be. Accurate and avoids the need to peer through a reticle.
- Sky-Watcher SynScan App – Offers a built-in polar alignment routine on supported GoTo mounts. Helps you refine alignment by syncing on known stars.
- Polar Scope Align Pro (iOS and Android) – A mobile app that shows you exactly where Polaris should sit in your polar scope’s reticle, based on your time and location. Simple and effective for manual alignment.
These tools are not essential, but they can help you work more confidently – especially if you’re new to equatorial mounts or observing from urban areas where Polaris is harder to see.
Final Thoughts: Precision Made Simple
Polar alignment may seem technical at first, but it is simply the process of trusting your equipment to move with the sky. It is a small step with big rewards. With well-aligned gear, your exposures grow longer, your stars stay sharp, and the universe opens in ways you did not know were possible.
Think of it as the moment when your kit becomes a natural partner under the stars. Take the time to align with precision, and watch how your images transform.