As you gain experience with deep sky imaging, you will notice a gradual limit to the length of your exposures. Even after polar alignment, slight tracking errors can cause stars to trail or wobble. This is where autoguiding comes in – a method that lets your mount correct itself on the fly, leading to sharper, more precise images.
Autoguiding might sound technical, but in practice it is a simple partnership between your camera and your mount. Once set up, it runs quietly in the background, enhancing your long exposures with minimal effort.
Understand How Autoguiding Works
Imagine setting off on a road trip with a sat nav that gently corrects your course whenever you drift off route. Autoguiding works in the same way. A second camera, known as a guide camera, watches a bright star through a small guide scope or an off-axis guider. Whenever the star drifts slightly, the camera tells the mount to nudge itself back on track. These small corrections enable much longer, sharper exposures than tracking alone.
Once you have it operating correctly, guiding becomes a reassuring presence during your imaging sessions. Your main camera focuses on capturing the deep sky object, while the guide system quietly keeps everything steady.
Gather The Gear You Need
To start autoguiding, you will need a few extra pieces of equipment:
- A guide scope or off-axis guider, to focus on your guide star.
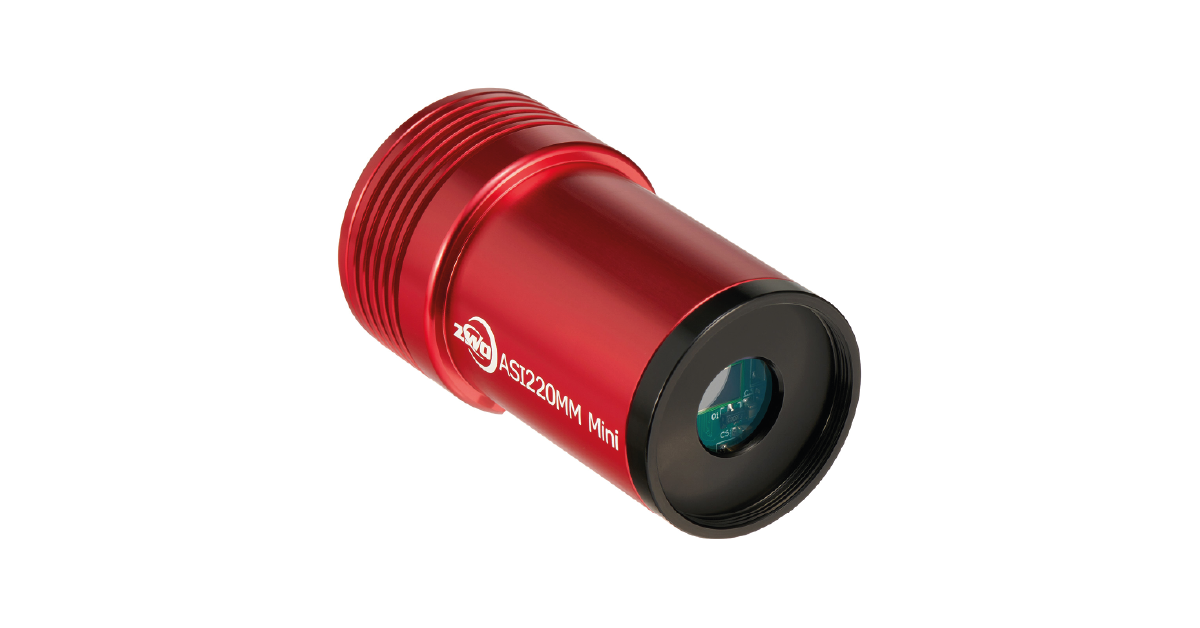
- A guide camera, typically a small CMOS astronomy camera.
- A mount that supports guiding -most astrophotography mounts allow this.
- A power source and cables to connect the guide camera and mount.
Some popular guiding kits come bundled with matching guide scope and camera, which is a helpful starting point for beginners.
Integrate Guiding Into Your Setup
Once your kit is assembled, the autoguiding process looks like this:
- Set up your mount and polar align as usual.
- Attach the guide scope alongside your main telescope, ensuring both point at the same target.
- Connect the guide camera to your laptop or controller and launch guiding software like PHD2 Guiding.
- Select a bright star and begin guiding. The software will send correction signals to your mount.
- Watch as the software charts guiding errors – and corrects them in real time.
Once guiding is stable, you can start your long series of deep sky exposures with confidence.
Understand The Benefits of Smooth Guiding
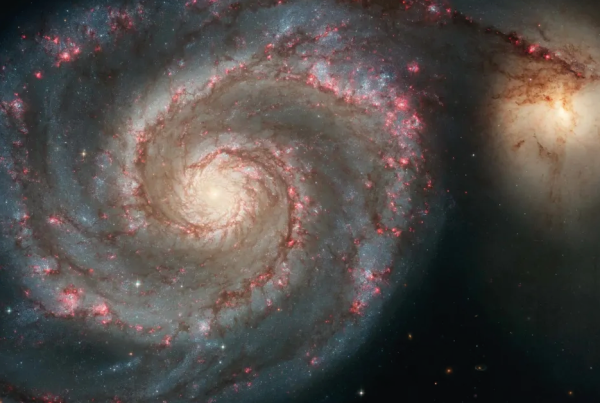
With autoguiding enabled, your system can handle longer exposures – five, ten or even twenty minutes – without stars stretching or blossoming into small arcs. This opens the door to capturing much fainter details in galaxies and nebulae.
Guiding also reduces the risk of ruined sessions. A single tracking error can spoil an entire set of exposures. With guiding correcting small wobbles, your final images stack more cleanly and align with greater accuracy.
Expect A Learning Curve
Autoguiding is not instant magic. It requires alignment of two optical systems and some basic software setup. In the early stages you may need to calibrate your guiding software, adjust guide speeds, or tweak parameters to find the right balance.
But this effort pays off. Once you have guiding running smoothly, your results become much more consistent. Even on nights with variable seeing conditions, your images stay sharp because the system is correcting errors as they happen.
Upgrade As You Grow
As you become more comfortable, you might choose a larger guide scope or higher-resolution guide camera. Some advanced users switch to off-axis guiders, which eliminate the need for a separate guide scope and reduce flex between guide and main optics. Others fine-tune guiding with adaptive settings or use dedicated guiding mounts.
But those steps are optional. For now, even a modest autoguiding kit can make a dramatic difference in your imaging quality.
Final Thoughts: Guiding Tunes Your System
Autoguiding is like adding power steering to your imaging setup. It quietly corrects the small errors that you never see but that shape your final results. Once it is set up and running, it feels like your mount and camera are working in perfect sync – and your images will show it.
This is more than a technical upgrade. It is a step towards consistency and clarity. It is what moves your hobby from capturing the sky to truly understanding it.


