If you are beginning to explore the night sky through a lens, it does not take long before a question emerges: is your camera the right one for the job? The answer, in most cases, is yes – at least for now. But if you are thinking of capturing faint galaxies or colourful nebulae, the camera you use will start to shape what you can see, and how far you can go.
Choosing an astrophotography camera is not about chasing the highest specs. It is about finding something that works well with your current setup, fits the way you like to work, and leaves room to grow.
Start With What You Already Have
Most people begin with a DSLR or mirrorless camera, often one they already own. These cameras are well suited to wide-field astrophotography. With manual control over ISO, shutter speed, and aperture, they allow you to take long exposures and capture detail far beyond what the eye can see.
For many, this is all that is needed to begin. Mounted on a tripod or paired with a star tracker, a DSLR and lens can reveal the glow of the Milky Way, star clusters, and even bright nebulae. Models from Canon, Nikon, and Sony are all popular choices, and second-hand options are widely available.
If your camera allows manual exposure and can shoot RAW files, it is a strong starting point.
Understand The Benefits Of Dedicated Astro Cameras
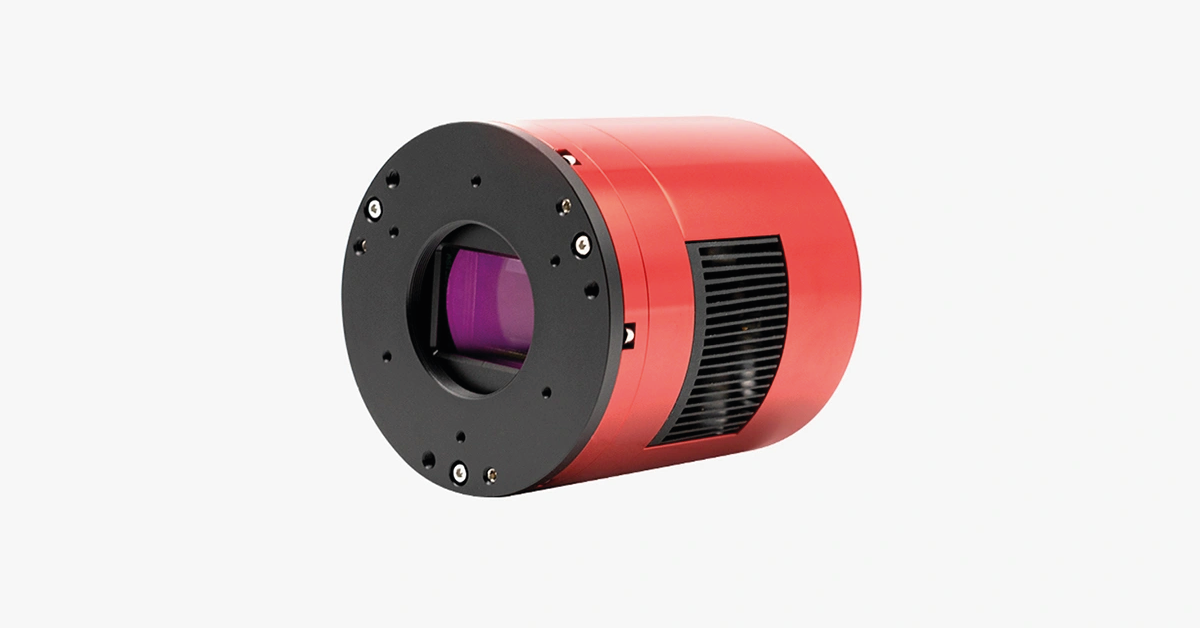
At a certain point, you may want more control, better cooling, or higher sensitivity to faint light. That is where dedicated astronomy cameras come in. These are designed specifically for capturing the night sky.
A dedicated CMOS astro camera connects directly to a telescope and is controlled via computer. It may look more technical, but the benefits are clear. Built-in cooling reduces noise during long exposures. Monochrome models allow for fine control over colour with the use of filters. Image quality improves, especially on faint or narrowband targets.
Brands like ZWO and QHYCCD make popular entry-level models. Many are compatible with small refractor telescopes, such as the William Optics RedCat 51 or Sky-Watcher Evostar 72ED, and are a natural next step for those looking to refine their images.
Think About What You Want To Photograph
Your choice of camera should reflect what you want to capture – and how you want to capture it.
If you are shooting wide-field landscapes of the Milky Way or constellations, a full-frame DSLR or mirrorless camera paired with a fast lens is ideal. Models like the Canon EOS R, Nikon Z6, or Sony A7 series offer large sensors that capture sweeping detail.
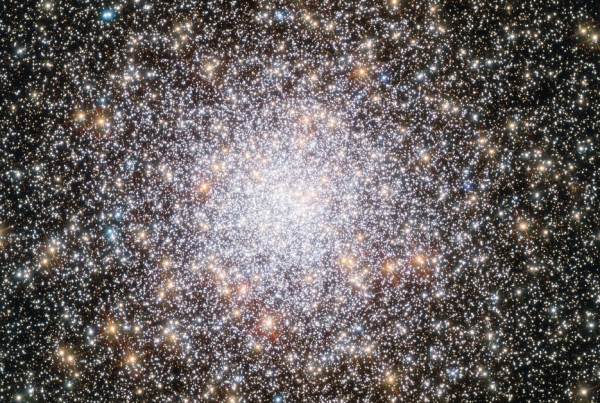
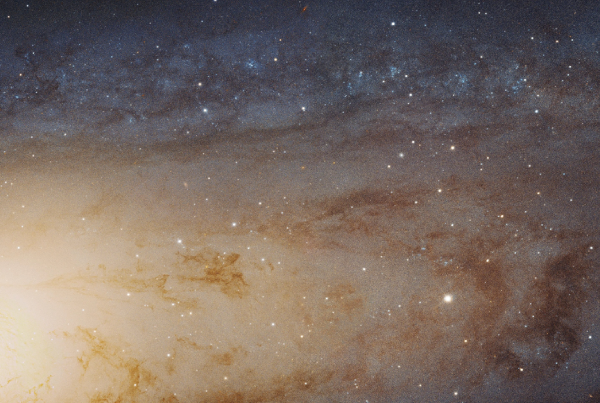
If you are focusing on deep sky astrophotography through a telescope, a smaller sensor may be more practical. APS-C or micro four thirds sensors offer a narrower field of view, which can be useful when imaging galaxies or nebulae. Dedicated astro cameras typically use sensors in this range.
Consider Sensor Sensitivity And Cooling
In astrophotography, light is precious. The longer your exposure, the more detail you gather – but the more noise you introduce. Cooling helps manage this. Many dedicated cameras include built-in cooling systems that keep the sensor at a constant low temperature, reducing unwanted signal and making your stacked images cleaner.
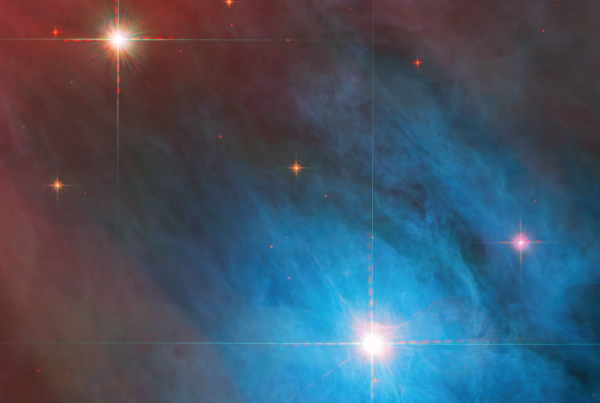
Another factor is red sensitivity. Most stock DSLR and mirrorless cameras include an infrared cut filter, which blocks some of the red wavelengths given off by hydrogen-rich nebulae. To overcome this, some photographers choose a modified DSLR – a standard camera that has had its filter removed or replaced to allow more red light through. This can make nebulae appear brighter and more colourful in your images.
Think About Your Workflow
Using a DSLR is straightforward. You shoot directly to a memory card and review your images on the camera screen. Using a dedicated astro camera is different. You will control the camera using software on a laptop, often saving dozens or hundreds of files over the course of a night. For some, this opens up more possibilities. For others, it adds complexity.
There is no right or wrong approach – only the one that feels right for how you like to work.
Upgrade When You’re Ready
There is no rush to move beyond the gear you already have. Many of the most striking images from beginners come from entry-level cameras, simple lenses, and careful practice. When you do decide to upgrade, do so because your curiosity has led you there – not because you feel you need to keep up.
You might eventually add narrowband filters for capturing hydrogen-alpha, oxygen, or sulphur emissions. You might explore guiding systems for longer exposures, or experiment with monochrome imaging and filter wheels. But none of this is required to take your first successful photo.
Final Thoughts: The Camera Is A Tool, Not A Destination
Astrophotography is not about chasing equipment. It is about learning to see in a different way – to look up, stay still, and gather the light of things too faint for the eye alone. The camera you choose is part of that process, but it is not the goal. What matters is what it helps you notice.
Start with the gear you have, and use it until you reach its limits. Then, when the time comes to upgrade, you will know exactly why – and exactly what kind of camera will help you go further.