There’s a quiet kind of excitement in choosing your first telescope. It marks a shift – from admiring the stars to wanting to know them more closely. But with that comes an avalanche of choice: sizes, shapes, specs, price tags. For many beginners, it can feel more like a barrier than an invitation.
The good news is that the telescope you start with doesn’t need to do everything. It just needs to do one thing well – show you something that makes you want to go outside again the next night. This guide is for helping you find that first scope. The one that gets used.
Think About What You Want To See
There is no such thing as a perfect beginner telescope. There is only the right telescope for the kind of observing (or photographing) you want to do.
If your interest is in seeing the Moon in detail, watching the rings of Saturn, or scanning bright star clusters, then a telescope for visual observing is ideal. These tend to be simpler to set up and give satisfying results straight away. A good example is a Dobsonian reflector – a telescope with a large mirror that sits on a simple swivel base. The Sky-Watcher Skyliner 200P is a popular choice in the UK for exactly this reason. It offers bright, clear views, even from a light-polluted garden, and can be carried outside in one piece.
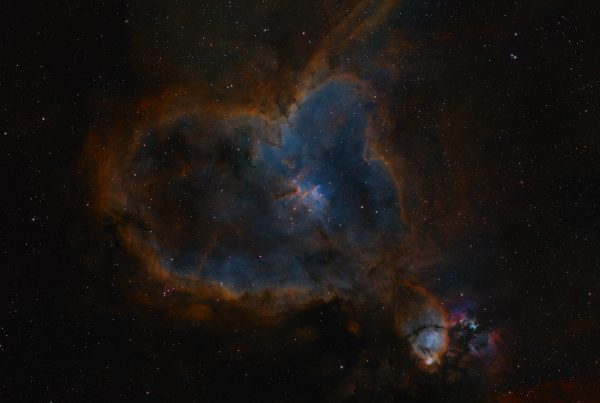
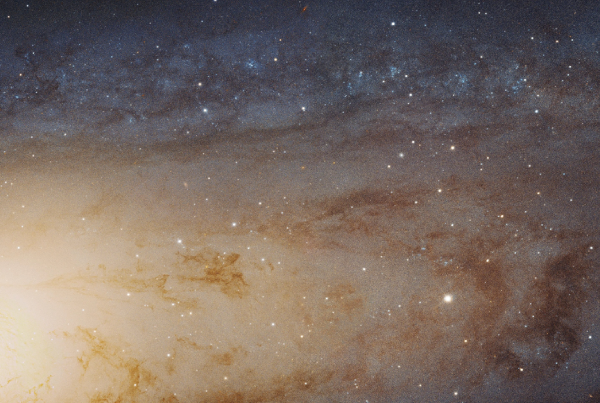
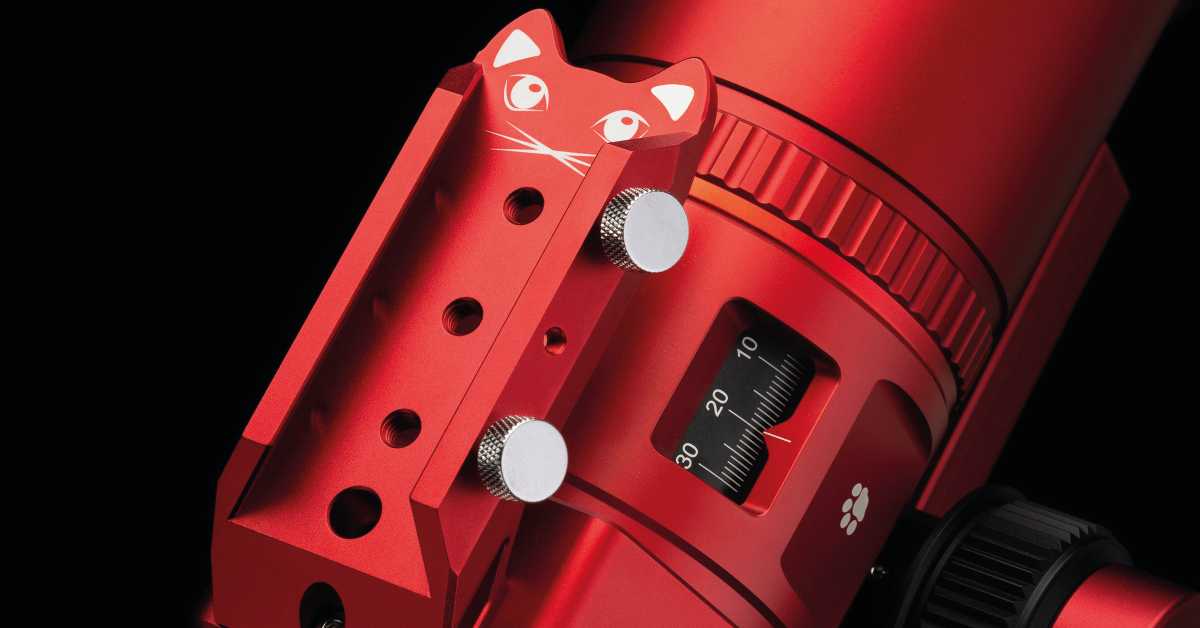
If your goal is to try deep sky astrophotography – to capture galaxies, nebulae, and wide starfields – then you’ll want something quite different. Most beginners in this space use a refractor telescope, which relies on lenses rather than mirrors. These are compact, lightweight, and offer sharp, colour-accurate images. The William Optics RedCat 51 is a well-known model for wide-field astrophotography. Paired with a DSLR or mirrorless camera and a star tracker, it becomes a window to the hidden sky.
Understand The Types Of Telescopes
Most beginner telescopes fall into one of three types. Each has its strengths and trade-offs.
Reflectors use mirrors to gather and focus light. Dobsonian reflectors are the most common type for beginners, offering large apertures at affordable prices. They’re ideal for visual observing but not well suited to photography.
Refractors use lenses. Small apochromatic refractors are often used in astrophotography because of their excellent image quality and ease of use. They’re more expensive per inch of aperture, but they’re also easier to maintain and transport.
Catadioptrics, like Schmidt-Cassegrain or Maksutov-Cassegrain scopes, combine lenses and mirrors. These can offer high magnification in compact tubes, but they tend to cost more and require longer cool-down times. They’re often better as a second or third scope than a first.
Choose A Mount That Makes It Easy To Observe
A telescope is only as good as the mount it sits on. For visual astronomy, a Dobsonian mount is the simplest and most intuitive. It moves up, down, left and right – no motors, no electronics. You point the scope where you want and look through the eyepiece. That’s it.
For astrophotography, you’ll need a mount that moves with the sky. Most beginners start with a tracking mount, like the Sky-Watcher Star Adventurer or iOptron SkyGuider Pro, which holds a small refractor and camera while compensating for Earth’s rotation. Larger setups may require a full equatorial mount, which adds weight but allows for longer exposures and auto-guiding.
Whatever mount you choose, make sure it’s stable. Wobbles and vibrations are the enemy of clear viewing and crisp photos.
Start With Something You’ll Use Often
There’s a temptation to buy the biggest telescope you can afford – but bigger isn’t always better if it means you won’t take it outside. A smaller, lighter scope that you can set up in five minutes will see more use than something that sits unused in a cupboard.
If space is limited, consider the Heritage 130P FlexTube – a compact, table-top Dobsonian that folds down small and delivers surprisingly good views. If you’re focusing on imaging and want to keep your setup lightweight, a refractor like the Sky-Watcher Evostar 72ED or Zenithstar 73 will give you a strong start.
What matters is not the spec sheet, but the experience. Choose something that fits your life, your sky, and your plans.
Consider The Accessories You’ll Need
Most telescopes come with the basics, but you may want to add a few extras depending on how you plan to use it.
For visual use:
- A range of eyepieces to explore different magnifications.
- A red dot finder or small finder scope to help aim.
- A moon filter to reduce glare on bright nights.
For astrophotography:
- A T-ring adapter to connect your camera to the telescope.
- A field flattener to correct for optical distortion at the edges.
- A remote shutter or intervalometer to take repeated exposures.
- A power supply if you’re running a tracking mount outdoors.
These don’t all need to come at once. Start with the essentials and build your kit slowly as you learn what you actually need.
Final Thoughts: Let Curiosity Lead
A telescope is not a status symbol or a collection of specs. It’s a tool – one that brings you closer to the night sky.
Whether you’re watching Jupiter rise over the rooftops, or stacking images of a nebula from your back garden, your first telescope is a beginning, not a destination.
Don’t worry about choosing the “perfect” scope. Look for one that excites you. One that’s easy to use. One that makes you want to step outside on cold, clear nights just to see what’s there.
The sky will wait for you. All you have to do is look.