There’s a moment during every imaging session when the technical part settles – the gear is aligned, the target is chosen, the exposures are running. And then a different kind of thinking starts: how will this look? How do I make it mine?
Framing and composition aren’t just artistic extras. They shape how your astrophotography feels – how others see what you saw. And even in deep sky imaging, where your subject may be thousands of light years away, these choices still matter.
This guide will help you understand the key principles behind framing and composing astrophotography images – whether you’re shooting with a camera and tripod, a star tracker, or a telescope on a mount.
Start With Field Of View
Before you can compose a shot, you need to know how much of the sky your setup will capture. This is called your field of view, and it depends on two things:
- The focal length of your lens or telescope.
- The sensor size of your camera.
A short focal length (like a 24 mm lens) will capture a wide slice of the sky – good for Milky Way landscapes. A longer one (like a 135 mm lens, or a 500 mm refractor telescope) will zoom in on nebulae, galaxies, or clusters.
Free tools like Telescopius or Stellarium let you input your gear and see exactly what your frame will cover – perfect for planning your composition before you set up.
Use The Rule Of Thirds – Even In Space
The rule of thirds is a classic photography guideline: imagine dividing your frame into a 3×3 grid, then placing key subjects along those lines or at the intersections. It gives your image balance and draws the eye naturally.
It works surprisingly well in astrophotography, too. Try placing a bright nebula, galaxy, or star cluster slightly off-centre. For wide-field shots, align the Milky Way along one third of the frame rather than straight through the middle.
Foreground elements – like trees, rocks, or buildings – can also break symmetry and make a sky image feel grounded and intentional.
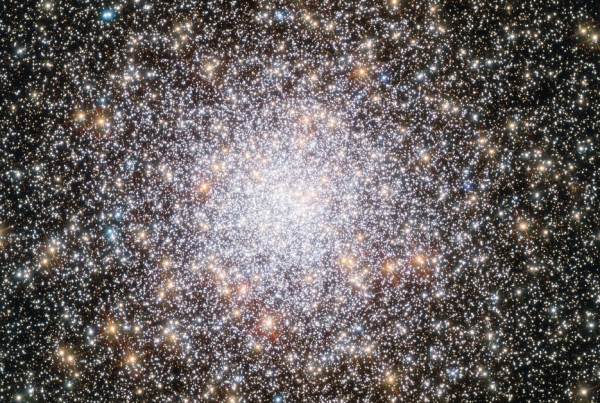
Know What’s Around Your Target
Many deep sky objects sit near other interesting structures – dust clouds, star fields, dark nebulae. By adjusting your framing, you can include more of that context.
For example:
- The Andromeda Galaxy (M31) is flanked by satellite galaxies (M32 and M110) that fit well in a wider frame.
- The Heart and Soul Nebulae often work beautifully as a pair.
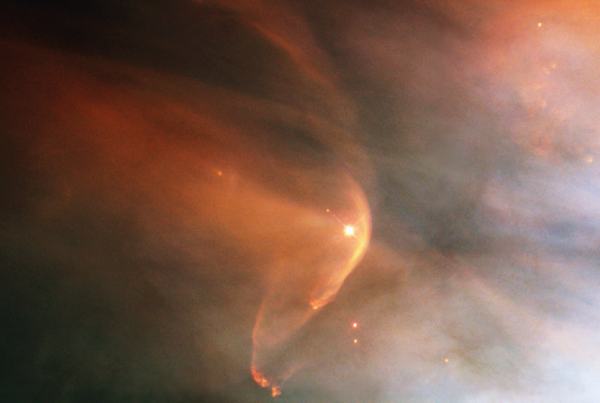
- The Orion Constellation includes the Orion Nebula, Flame Nebula, and Horsehead – all worth composing together at 135 mm or wider.
Tools like SkySafari, Stellarium, and AstroBin image previews help you visualise your framing options.
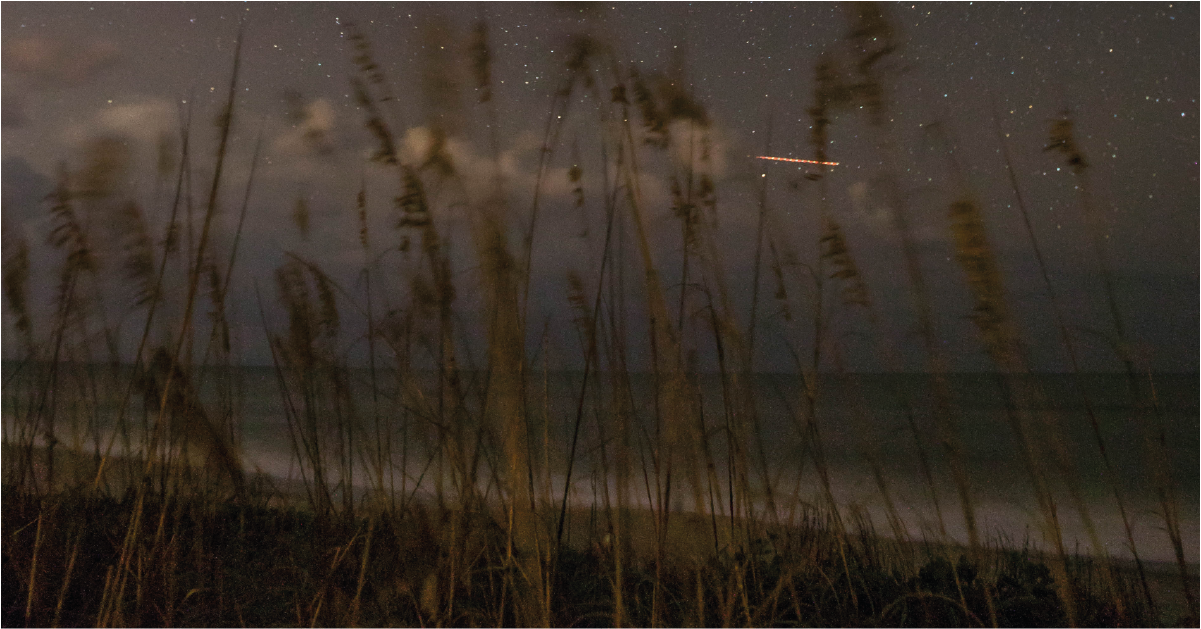
Level The Horizon, Anchor The Foreground
For landscape-style astrophotography (especially Milky Way shots), a strong foreground gives your photo weight and story. Look for clean silhouettes, interesting shapes, or leading lines – and make sure your horizon is level unless you’re intentionally tilting for effect.
Use a sturdy tripod and a remote shutter release or intervalometer to keep the camera steady. Slight adjustments to framing can turn a flat composition into something dramatic and layered.
Leave Room For Cropping – But Not Too Much
It’s tempting to zoom all the way in on your target, but leave yourself room around the edges. Cropping during post-processing helps straighten horizons, centre objects, or remove stacking artefacts – especially in deep sky imaging.
At the same time, be mindful not to leave too much dead space. Every corner of your frame should contribute to the image’s overall feel – even if it’s just soft star fields or subtle gradients.
Watch Out For Rotations
When using a star tracker or equatorial mount, your camera’s orientation can rotate the frame in ways that feel unnatural. A vertical Milky Way can suddenly appear diagonal. Nebulae may be upside down compared to what you’re expecting.
Use framing aids in software like NINA, ASIAIR, or Astro Photography Tool (APT) to preview your rotation in advance. This lets you adjust the camera angle before starting your imaging run.
Revisit Targets With New Ideas
One of the quiet joys of astrophotography is revisiting the same target across different nights, seasons, and focal lengths. As your skills grow, you may frame the Orion Nebula more tightly, or give Andromeda more breathing room in a mosaic.
Think of your compositions as evolving interpretations – not one-time captures. Save your framing notes and field of view mock-ups for future reference.
Final Thoughts: Framing As Expression
Composition may not seem technical, but it’s where your choices meet the sky. It’s what turns a photo into your photo.
With each frame, you’re not just recording stars – you’re shaping how others feel them. A centred galaxy, a diagonal dust lane, a tree branch under a star field – these are your fingerprints in light.
As you learn to see the sky not just as data, but as design, you’ll begin to compose with intention. The tools are in your hands. The frame is yours to fill.