Photographing the Moon is one of the most rewarding and accessible areas of astrophotography. You do not need expensive equipment or remote locations – you just need a clear sky, a camera, and a desire to explore lunar detail. This guide will help you capture striking images of lunar features with confidence and enjoyment.
Why Photograph The Moon
Unlike faint galaxies, the Moon is bright and dramatic. Its surface is rich with texture, craters, ridges, and shadows that evolve throughout its phases. This makes the Moon an excellent subject for beginners. It requires shorter exposures, no guiding, and gives immediate visual feedback. It feels like a grand introduction to astro-imaging without the need for dark skies.
Choose The Right Gear
For simple lunar shots, a DSLR or mirrorless camera paired with a telephoto lens (200–600 mm) is enough to reveal large craters and mountain ranges. To capture more detail, a small telescope – such as a 90–130 mm refractor or reflector – mounted with a T‑ring adapter is ideal.
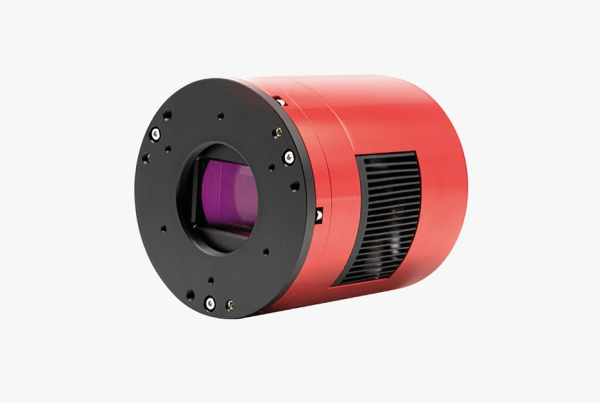
If you want to go further, consider using a planetary camera that can record short videos at high speed. You can then process those frames to enhance detail and sharpness.
Use Short Exposures And Real-Time Focusing
The Moon is bright enough for short exposures. Start with something like ISO 200, shutter speed 1/125 s, and aperture around f 8. Review the image data and adjust so the Moon looks bright but retains surface detail – without blowing out highlights along the terminator, where shadows accentuate features.
As you capture, use live view to focus. Zoom in on a region near the terminator and fine-tune until the details appear crisp. If your camera allows, using a focus magnifier in live view will help lock focus precisely.
Capture And Stack Videos For High Detail
For more refined results, use a planetary camera or a camera capable of high-speed video capture. Record 1–2 minutes of video while the Moon drifts naturally across your frame.
Later, use software such as AutoStakkert! or RegiStax to align and stack the best frames. Stacking dramatically enhances clarity by combining the sharpest moments and reducing noise.
Watch For Seeing Conditions
Even on clear nights, atmospheric turbulence – known as seeing – can blur lunar details. Aim to photograph the Moon when it is higher in the sky, where you look through less atmosphere. Use forecast tools or apps that show seeing conditions to select nights where the air is steady, giving crisper images.
Capture Throughout The Lunar Cycle
Each lunar phase offers unique photographic opportunities:
- Crescent and half-Moon – Shadows along the terminator make craters and ridges stand out in relief.
- Gibbous – Offers a balance of light and shadow with a bright, textured view.
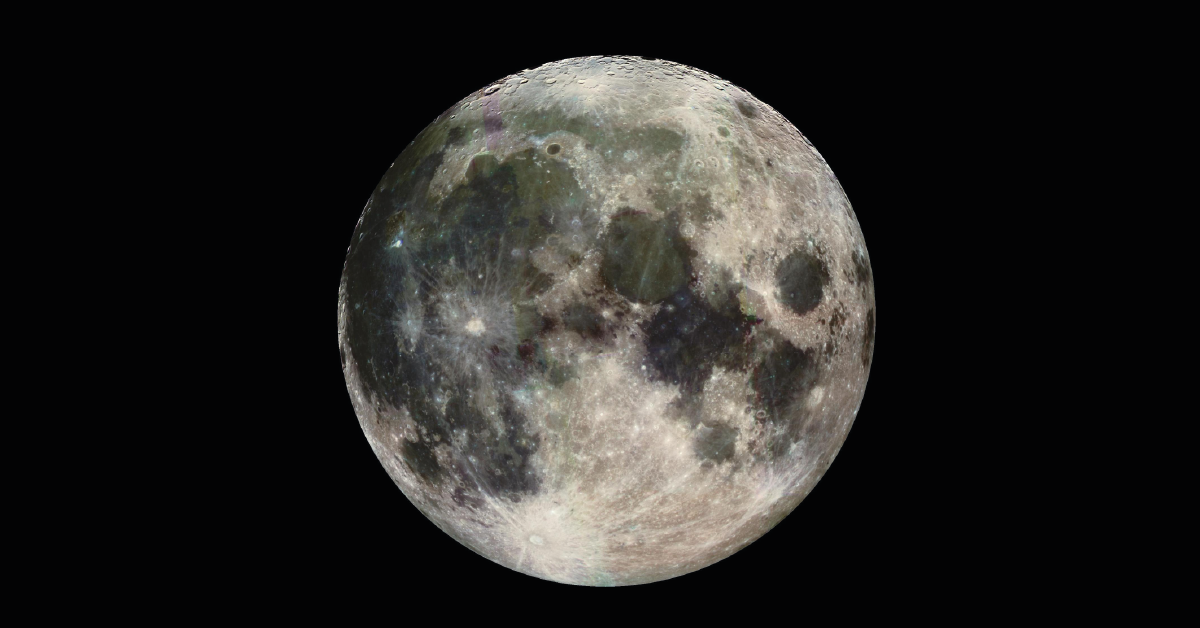
- Full Moon – Shows the Moon in full brightness, but surface features may appear flat. Highlights the maria and overall shape.
Select the phase that matches your goal. Many imagers favour the half- and gibbous-phase as a sweet spot for detail.
Add A Foreground For Mood
If you want something a little more than an orbital study, consider adding a simple foreground: a silhouetted tree, a roofline, or a church tower. Because the Moon is bright, you do not need special lighting. This approach adds scale and atmosphere, making the photo more than just a close-up.
Final Thoughts: A Personal Perspective Of The Moon
Photographing the Moon connects you to centuries of astronomers and sky watchers – each using the same light, but with more modern tools. It is a form of storytelling: every crater and shadow becomes a moment of discovery.
This is a joyful practice: immediate, visual, and educational. Each session teaches you more about your camera, your sky, and your place on this small rock beneath vast skies.