Your gear is ready. You’ve chosen a target, charged your batteries, maybe even practiced polar alignment indoors. Now the sky is forecast to be clear, and it’s time to head out for your first imaging session.
But where do you begin?
Planning a successful astrophotography night isn’t about squeezing every possible exposure out of your gear. It’s about reducing surprises. The more you prepare before you’re in the dark, the more confident – and calm – the experience will be.
This guide walks you through the essential steps of planning a session from start to finish, tailored for beginners. No stress. No jargon. Just a quiet, step-by-step approach to getting it right the first time.
Check The Forecast – Then Check Again
Before anything else, confirm that the weather is truly in your favour. Look for clear skies, low wind and moderate humidity.
We recommend checking:
- Clear Outside – hourly sky clarity, darkness, moonlight and cloud forecast.
- Meteoblue – more technical, but useful for transparency and seeing conditions.
- Met Office – a local view of wind and temperature.
Look for a night with at least 2–3 hours of clear sky and no bright moon. If there’s a partial window, prioritise bright targets like the Orion Nebula or Andromeda Galaxy.
Pick A Simple Target
For your first night, choose a well-known, bright object. Something high in the sky, easy to find, and photogenic with short exposures.
Popular beginner-friendly targets include:
- Orion Nebula (M42) – bright, wide, and forgiving.
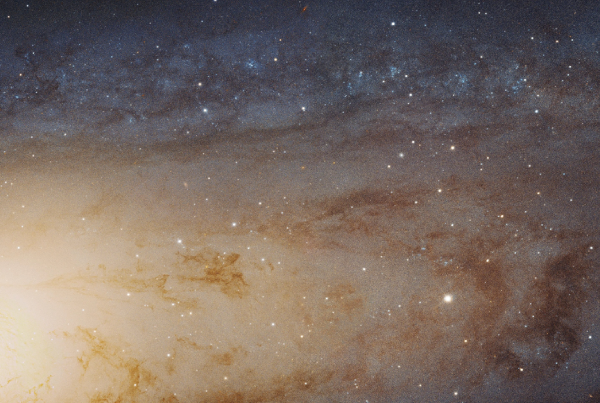
- Andromeda Galaxy (M31) – good for DSLR and lens setups.
- Pleiades Star Cluster (M45) – easy to frame, beautiful in colour.
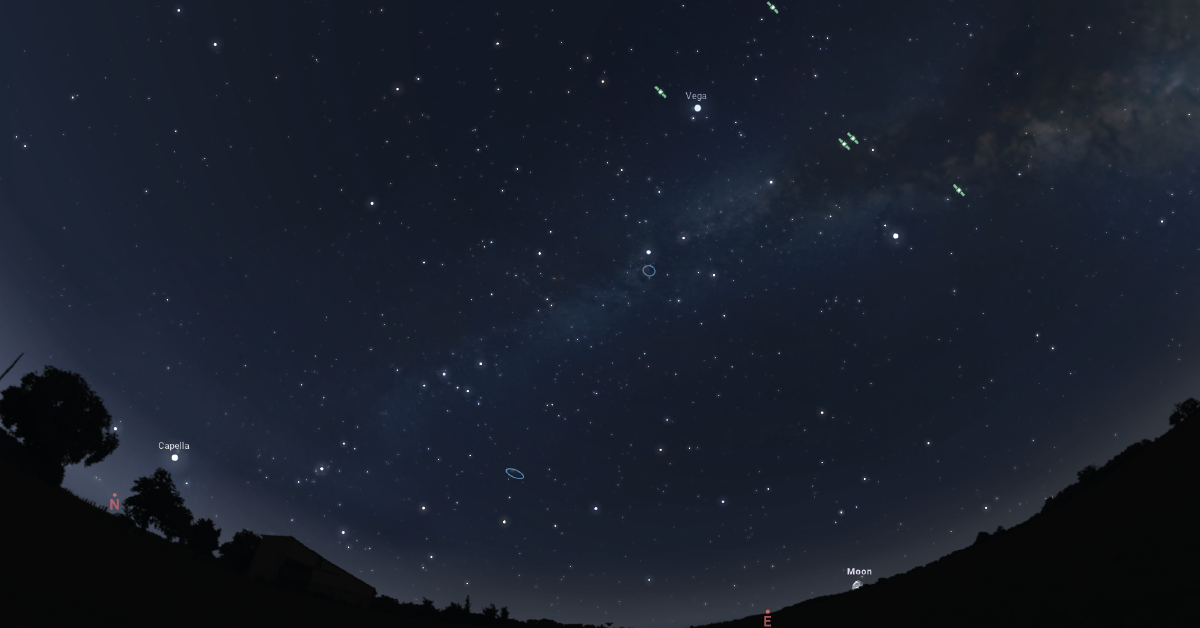
Use an app like Stellarium, Sky Guide, or Telescopius to preview your target and see when it’s highest in the sky. That’s the best time to shoot.
Create A Simple Setup Checklist
You don’t need to memorise everything. Write out or print a basic checklist:
- Mount or star tracker.
- Camera and lens or telescope.
- Tripod or equatorial mount.
- Remote shutter or intervalometer.
- Power banks or charged batteries.
- Memory cards (cleared).
- Head torch with red mode.
- Balancing weights (if needed).
- Lens dew heater or hand warmers (optional).
Pack your gear neatly and test cables and power before leaving home.
Choose A Site And Time To Set Up
If you’re imaging from home, pick a spot with the clearest southern sky and least local light. If you’re travelling, arrive while there’s still some twilight left. This gives you time to set up without rushing in the dark.
Look for:
- A firm, flat surface for your tripod.
- Open sky in the direction of your target.
- Shelter from wind, especially for long exposures.
- Somewhere safe and quiet, where you can stay focused.
Use Google Maps or Dark Sky Discovery Sites to scout new locations in advance.
Plan The Imaging Session Flow
Think of your session as having three stages:
- Setup and alignment – build your rig, balance your tracker or mount, and polar align. Take your time.
- Framing and test shots – use live view or plate-solving to centre your target. Focus carefully.
- Acquisition – start your exposure sequence, monitor progress, and keep an eye on battery, dew and alignment.
For your first session, aim for 30–60 exposures of 30–90 seconds each. That’s enough to stack a solid image without overloading yourself.
Keep Expectations Simple
The goal of your first night isn’t to take the perfect image. It’s to experience the full process – from setup to final exposure – and come away with your first real data.
Expect small challenges:
- Focus might slip.
- Alignment might need a redo.
- Dew might creep in.
- Something might go wrong.
That’s normal. Each session will get easier.
Pack Down With Care
Once your final exposure finishes:
- Cover your optics before dew settles.
- Power down carefully and store batteries warm.
- Double-check your files saved properly.
- Make a note of what worked and what didn’t.
Even a slightly frustrating night can be a success if you come home with lessons learned and one usable image.
Final Thoughts: The First Night Is The Real Beginning
You only get one “first imaging session”. It won’t be perfect – but it will be memorable. The small decisions you make ahead of time, the care you take in choosing a target and checking the weather, all add up to something far more rewarding than a rushed attempt at the sky.
What matters is not how many frames you capture, but that you take them with curiosity and care.
The next night will be easier. The one after that, easier still. Soon, this will all feel like second nature.
And the sky – always turning, always returning – will be waiting.