The Moon is one of the easiest and most rewarding targets in the night sky. It’s bright, it’s detailed, and it looks beautiful with even the most modest camera. But some of the most striking lunar images are not close-ups. They’re wide shots – where the Moon appears low on the horizon, glowing behind a building, tree, or distant hill.
These photos combine sky and Earth into one frame. They anchor the cosmos in the real world – and give your astrophotography a sense of scale, place, and atmosphere.
This guide will show you how to plan and shoot Moon photos that include foreground elements – whether you’re working with a DSLR, mirrorless camera, or even a phone with manual controls.
Why Foregrounds Matter
A full-frame shot of the Moon shows craters, shadows, and detail. But it can feel disconnected – floating against black. Including a foreground gives context and depth. It turns the Moon from a subject into a part of a story.
A lone tree in silhouette. A tower on a ridge. A lighthouse with the Moon rising beside it. These kinds of images feel grounded – something familiar meeting something far away.
Foregrounds also help you work with light. They give contrast, shape, and framing – all without needing advanced gear.
Plan With PhotoPills
To place the Moon in a scene, you need to know where and when it will appear. One of the best tools for this is PhotoPills – a mobile app built for photographers planning outdoor shots with natural light.
With PhotoPills, you can:
- See the Moon’s rise and set times for any date and location.
- Track its direction along the horizon (azimuth).
- Check elevation and phase to choose the right moment.
- Use Augmented Reality (AR) mode to preview exactly where the Moon will rise from your current spot.
- Align the Moon with specific landmarks, trees, buildings, or landscapes using the Planner tool.
There are other planning apps available, but PhotoPills is widely used, well supported, and beginner-friendly – making it an excellent starting point.
Scout Your Location In Advance
Use your planning app during the day to pick a strong composition. You’re looking for:
- A clear view of the eastern or western horizon.
- A visible foreground – like a structure, ridge, or tree.
- Minimal artificial lights or clutter that might interfere with the shot.
If you can place your subject far from your shooting position, the Moon will appear larger in comparison – a well-known visual trick of perspective.
Choose The Right Lens For The Shot
Your lens determines the relationship between Moon and foreground. Think in terms of focal length:
- Wide-angle lens (14–35 mm): Captures a broad scene with a small Moon.
- Standard lens (50–85 mm): Balances subject and sky.
- Telephoto lens (100–400 mm): Compresses the distance – the Moon appears dramatically large behind distant subjects.
Manual focus is essential. Focus using live view on a star, distant light, or the Moon itself. Use a tripod, manual exposure mode, and a remote shutter or intervalometer if possible.
Exposure Settings To Start With
The Moon is surprisingly bright – especially near full. Here are typical starting settings:
- Shutter speed: 1/125s to 1/250s.
- Aperture: f/8 to f/11 for sharpness.
- ISO: 100–400 depending on scene brightness.
If the Moon is low or the foreground is dark, bracket exposures – one for the Moon, one for the scene – and blend later in post-processing.
Use Foregrounds To Frame And Anchor
Foregrounds don’t just add scale. They provide contrast, shape, and narrative. Whether it’s a pier, a row of trees, or a monument, foregrounds give the viewer something to stand on – a place to imagine themselves within the scene.
The best results come from planning. PhotoPills lets you set the shot up days or weeks in advance. You can even scout virtually with Google Earth or drone maps to find perfect sightlines.
Work With The Light You Have
You can shoot during:
- Blue hour (just after sunset or before sunrise): balanced ambient light, ideal for combining Moon and landscape in one exposure.
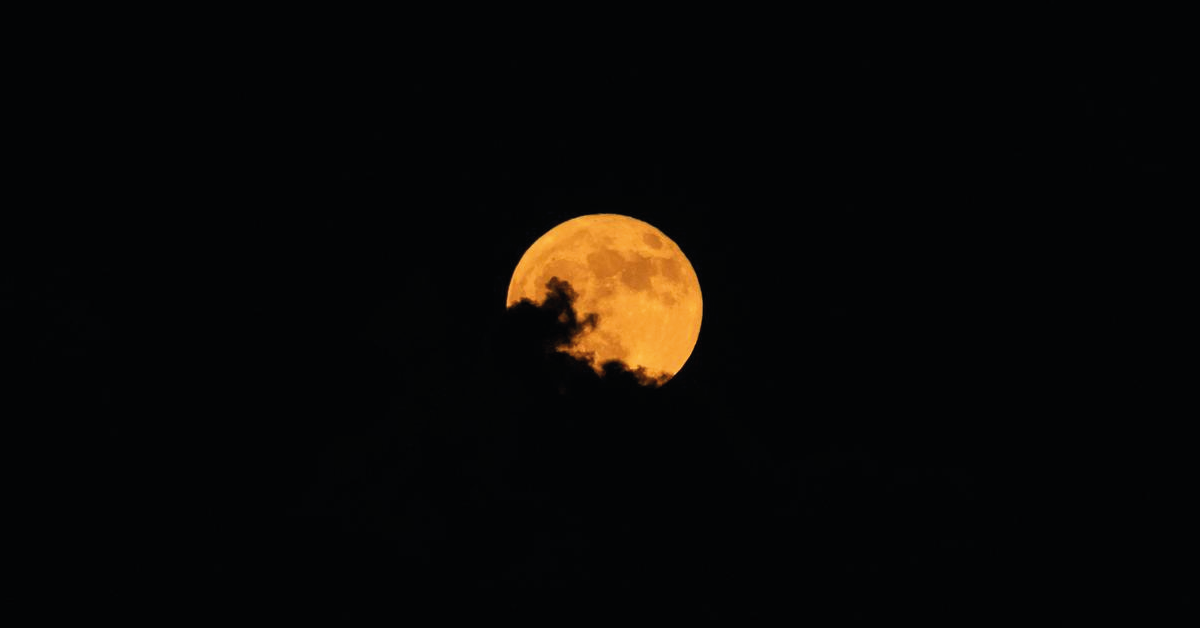
- Night proper: the Moon dominates the frame, foregrounds may silhouette or need separate exposure.
- Moonrise/Moonset: warm colours and visual impact, perfect for low-horizon shots.
Each time of night offers something different. The key is exposure control – and a little patience.
Final Thoughts: Seeing The Moon As A Place
When you photograph the Moon with a foreground, it becomes more than a disc in the sky. It becomes a part of your world – rising behind a town, brushing the edge of a ruin, lighting a path through a field.
With planning, care, and the right tools, these shots are within reach of any beginner. They don’t require tracking or telescopes. Just curiosity, intention, and a sense of place.
The Moon will rise again tomorrow. All you need to do is be ready.


