As you begin to capture galaxies and nebulae, you’ll soon realise that astrophotography is about more than a single piece of gear. Each new image begins to feel like the result of a whole system working together – a network of tools that rely on each other. So building your first deep sky astrophotography kit is less about collecting components and more about assembling a team.
A cohesive kit will help you spend less time troubleshooting and more time imaging. It will also keep you growing, rather than overwhelmed, as your ambitions evolve. Here is a beginner-friendly walkthrough of what your kit needs—and why.
Star Tracker And Mount
Long exposures are the heart of deep sky imaging. To keep the stars pinpoint, not streaked, you need either a tracking mount or an equatorial mount. Beginner setups often start with a star tracker like the Sky-Watcher Star Adventurer or iOptron SkyGuider Pro. These compact devices guide your camera or small telescope, countering Earth’s rotation and enabling several-minute exposures.
If you move on to larger telescopes, an equatorial mount becomes essential. These mounts support heavier payloads and offer greater precision, sometimes allowing auto-guiding and longer sessions. Choose one that is stable and rated above your setup’s combined weight.
Optics: Lens Or Telescope
Your choice of optics depends on your goals. For wide-field photography of the Milky Way or constellations, a fast lens, such as a 50 mm f 1.8 or a 135 mm f 2.8, combined with a tracker, is light and flexible.
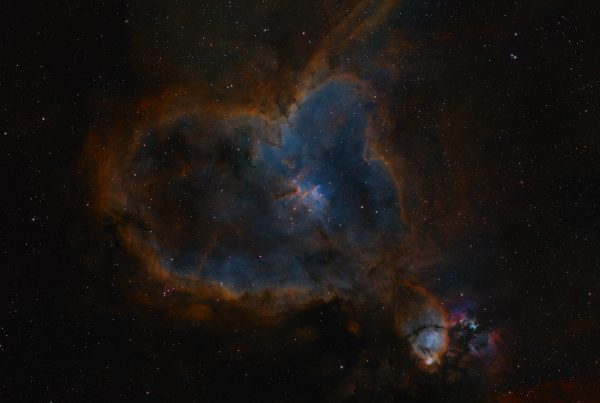
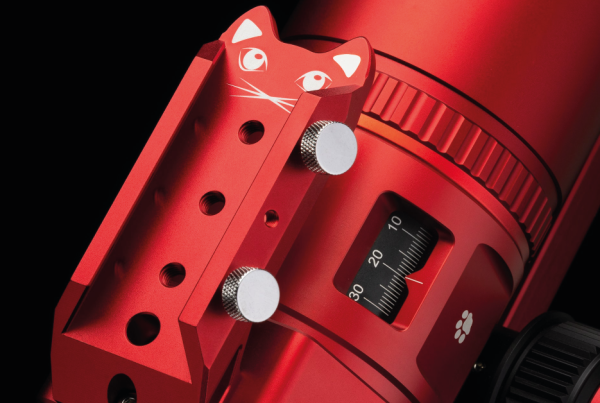
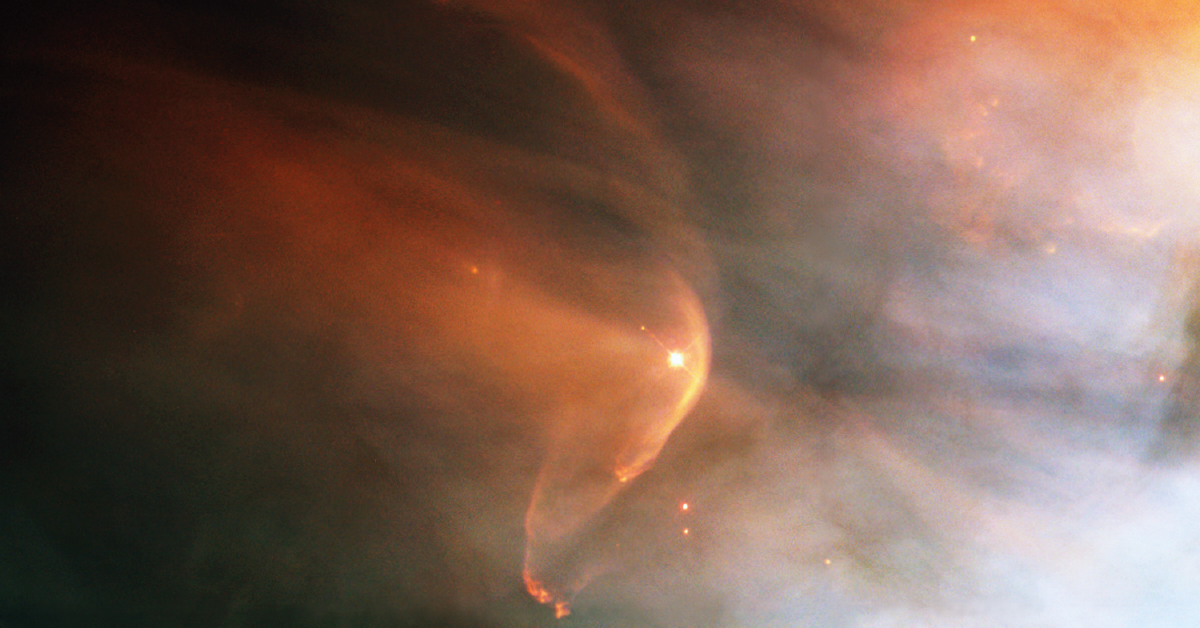
For photographing nebulae and galaxies, a small apochromatic refractor telescope is the next step. Telescopes like the William Optics RedCat 51, Zenithstar 73, or Sky-Watcher Evostar 72ED offer sharp optics in a compact form. These pair well with both trackers and mounts, and reveal extraordinary detail under dark skies.
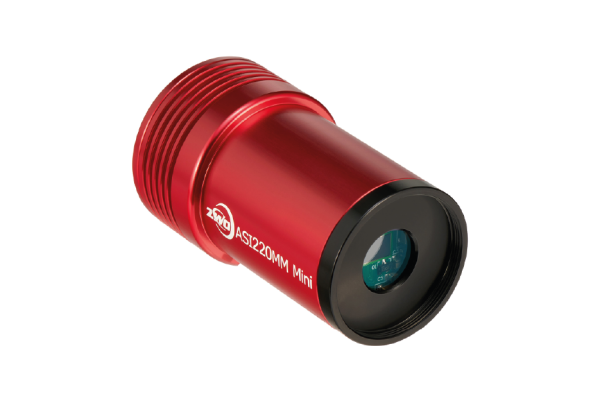
Camera: What You Already Own Or A Dedicated Option
Most deep sky kits begin with a standard DSLR or mirrorless camera. These are reliable, offer full manual control, and deliver excellent image quality when shooting RAW format.
When you want to push further, a dedicated astronomy camera might be the right upgrade. These cameras, often cooled and highly sensitive, work best when you aim to capture very faint targets or refine your workflow. At the start, what matters more than model is knowing how to use what you’ve got.
Essentials For Capturing Data
It does not stop at optics and mount. To produce quality images, your kit should include:
- A T‑ring adapter and, if using a telescope, a field flattener to ensure stars stay sharp at the image edges.
- A remote shutter release or intervalometer to manage exposure sequences without touching the camera.
- A set of calibration frames, including dark, flat, and bias frames. These are key to reducing noise and correcting vignetting.
- A suitable power solution—a decent USB battery pack or DC supply—to keep everything running through the night.
These tools work behind the scenes but are essential for a smooth imaging session.
Optional Extras For Better Results
Once you have the essentials, you can improve your kit with additions that refine your imaging:
- Auto-guiding setups, which improve tracking precision for longer exposures.
- Narrowband filters, such as hydrogen-alpha or oxygen, to isolate the glow of nebulae and reduce light pollution.
- A field guidebook or stargazing app like Stellarium to help plan your sessions and find targets.
- A lightweight travel case to keep your equipment organised and safe under the stars.
These are not necessary right away, but they help you grow with intention and efficiency.
Balance Portability And Capability
It is easy to go overboard, but remember this: the best kit is the one you use. A mounted refractor might yield sharper images, but if it is too heavy to carry, it will sit unused. A basic lens and tracker kit provides quick access to the sky and sets you up for success from day one.
As your confidence builds, you can upgrade individual components. A better lens, a cooled camera, a sturdier mount – each step should match a new level of curiosity or challenge, not add unnecessary weight or complexity.
Final Thoughts: Build A System That Works For You
Your first deep sky kit does more than capture light. It builds routine, it bridges understanding, and it rewards your curiosity. Each frame you record becomes part of a larger process, telling you what your sky and your tools are capable of.
Trust the system you assemble. Learn it, adapt it, and let it guide you skyward. As you grow, so will your kit. But for now, gather what’s essential, keep it simple, and let each night under the stars be a step into something deeper.