When you’re just starting out, it’s easy to think a telescope is essential – that real astrophotography can’t begin until you’ve got one. But the truth is, many of the most beautiful and accessible images of the night sky are taken without a telescope at all.
With a camera, a tripod, and a bit of planning, you can capture galaxies, nebulae, star clusters, and the Milky Way itself. This guide is about what’s possible – and how to make the most of it – when your setup is simple, portable, and wide open to the sky.
Why No Telescope?
Telescope imaging brings challenges: long focal lengths, heavy mounts, tighter focus, and more demanding tracking. Before diving into all that, it’s often better to build your confidence on wide and medium-field targets.
By using just a DSLR or mirrorless camera and a fast prime lens, you’ll spend more time imaging and less time troubleshooting.
This isn’t a step back – it’s a step forward with clarity.
What You Can Capture
With the right conditions, you can photograph:
- The Milky Way – rising from the horizon, sweeping overhead, full of dark dust lanes and glow.
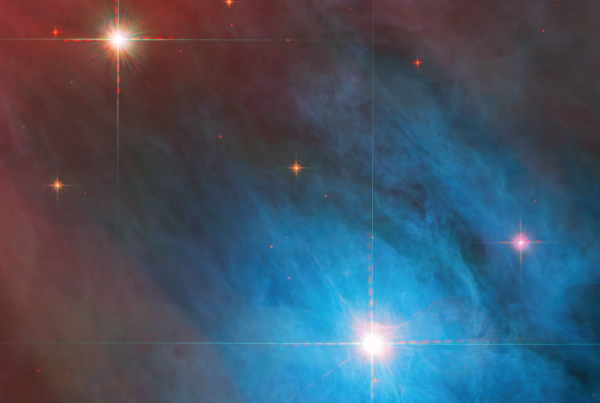
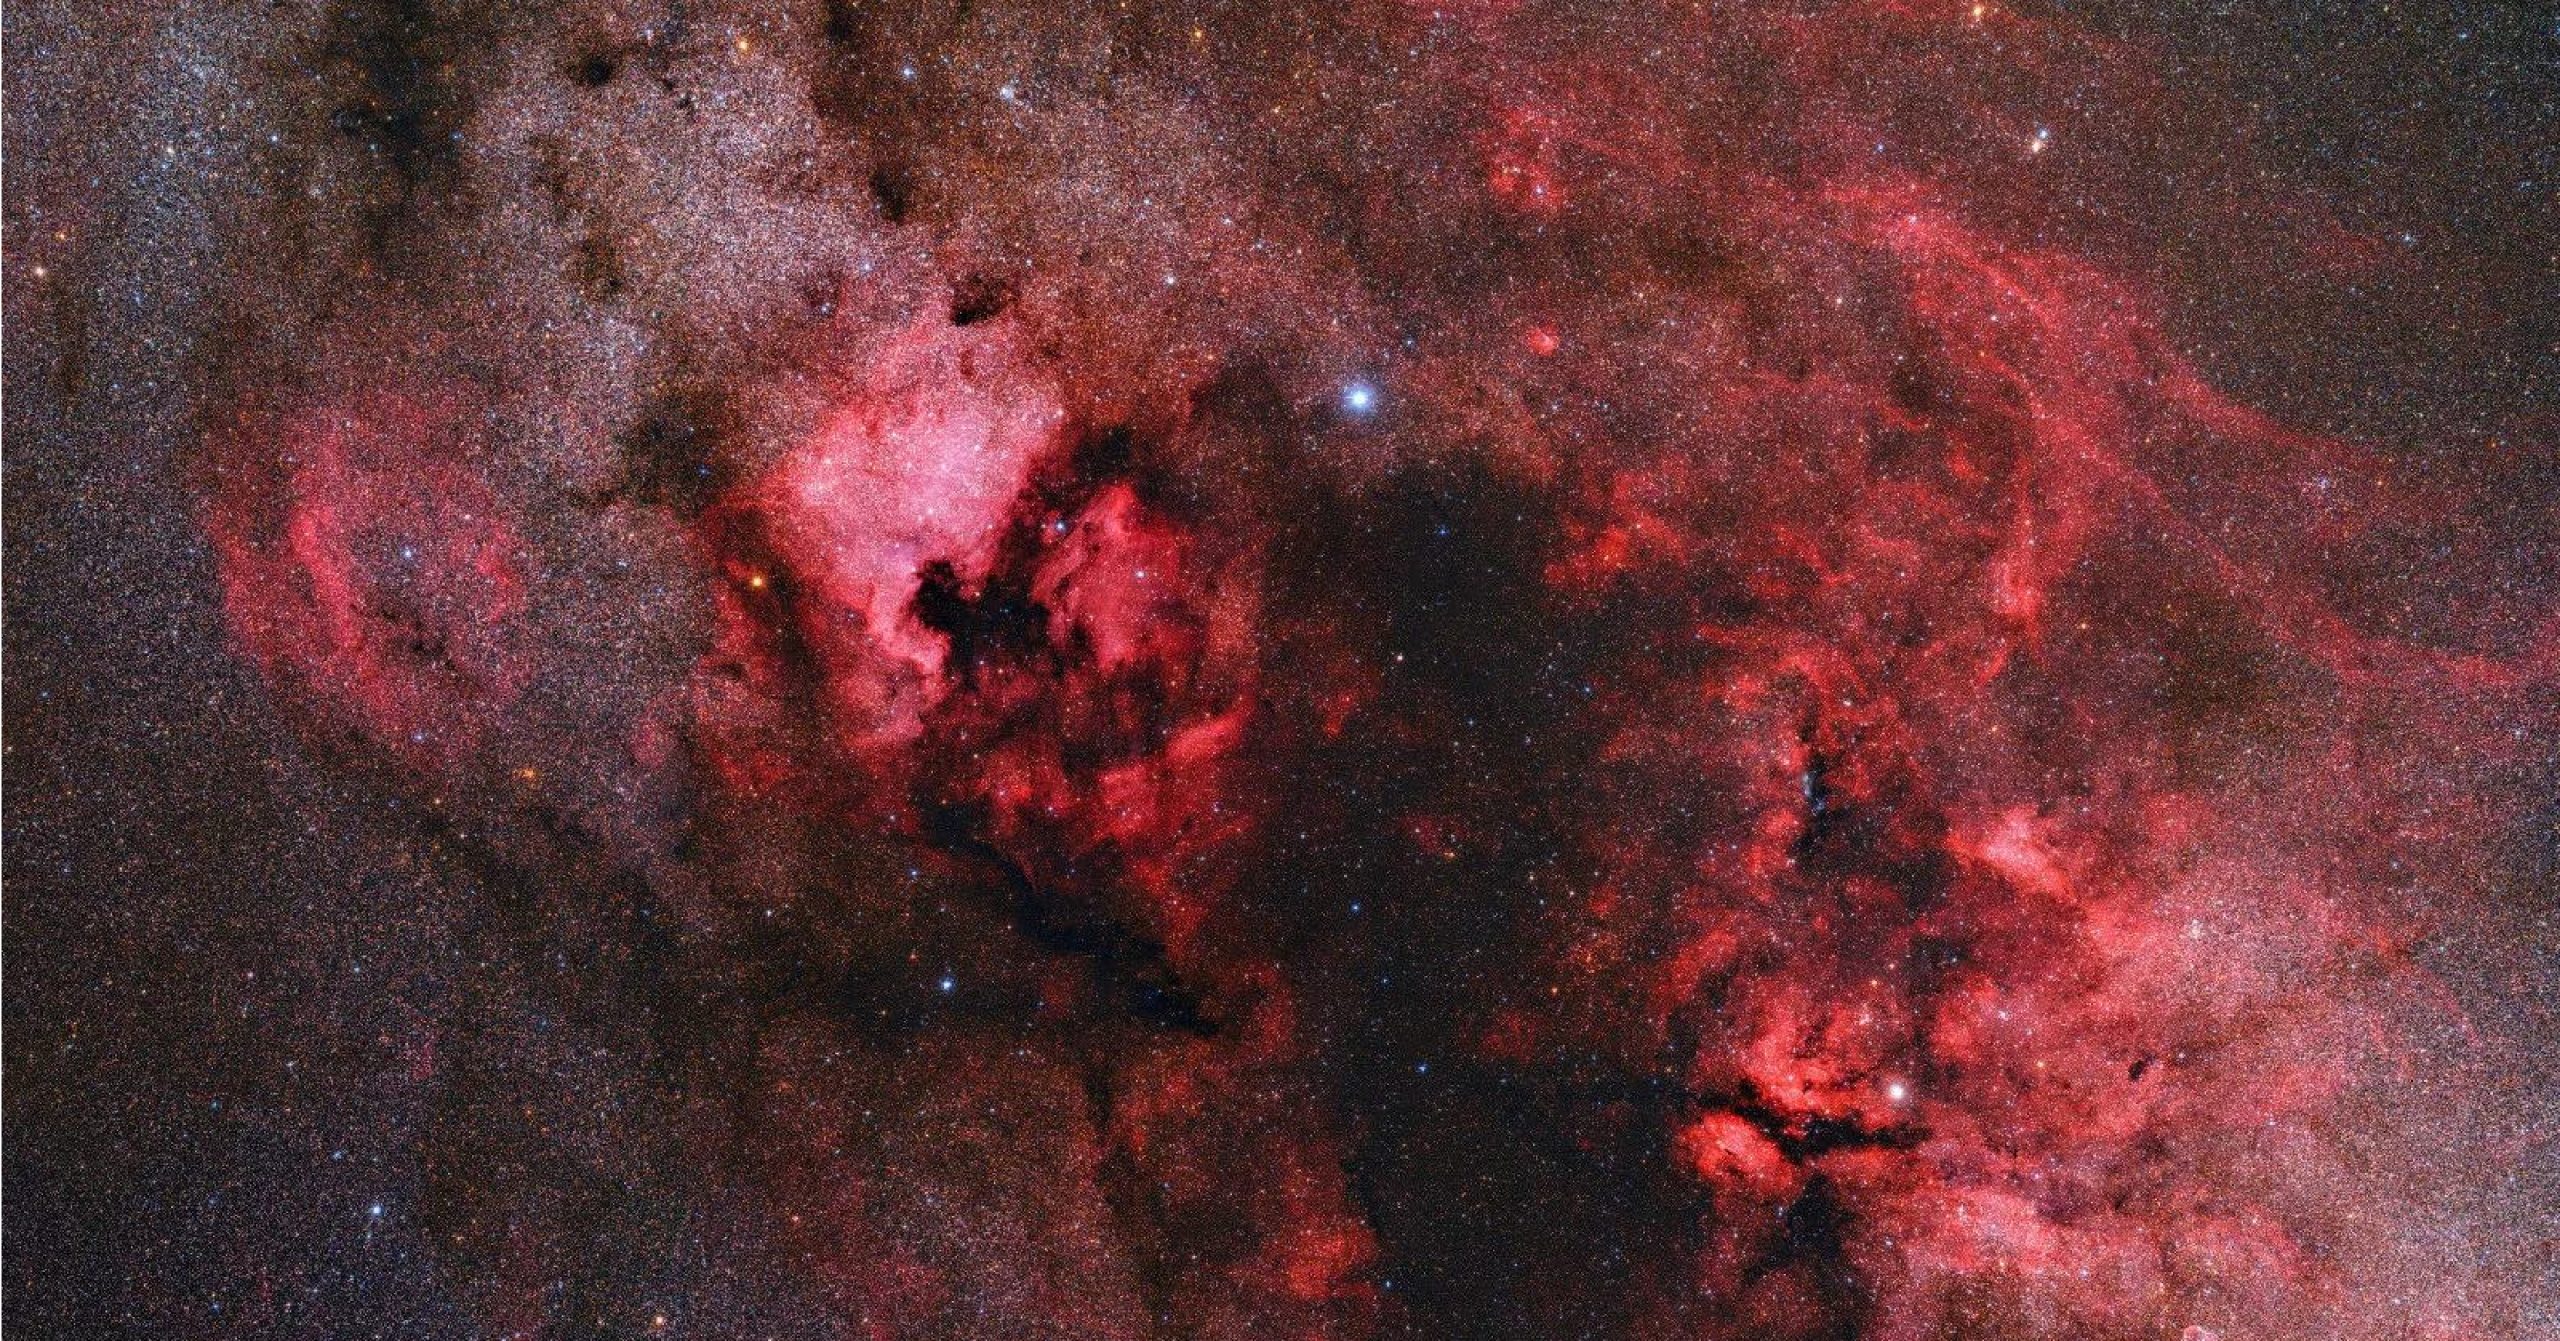
- Bright nebulae – like the Orion Nebula (M42) or the North America Nebula (NGC 7000) using a lens up to 135 mm.
- Galaxies – including Andromeda (M31) and Triangulum (M33) with longer lenses (85–200 mm).
- Star clusters – such as the Pleiades (M45), Double Cluster, and the Hyades.
- Moon and planets – clear, bright, and full of detail even with short focal lengths.
- Star trails – long, elegant arcs showing the Earth’s rotation over time.
You won’t get tiny planetary detail or close-up galaxy cores – but you will get real astrophotography, real progress, and real joy.
Recommended Lenses And Setups
You don’t need to invest heavily. Start with what you have, and aim for:
- Wide angle lens (14–35 mm): Ideal for Milky Way, landscapes, constellations, and star trails.
- Standard lens (50 mm): Good for brighter DSOs like M31 and M42.
- Medium telephoto (85–200 mm): For framing specific nebulae and small galaxy groups.
Prime lenses are ideal – especially those with wide apertures like f/2.8 or lower – but even basic zooms can work well.
Pair this with a sturdy tripod, and consider a star tracker for longer exposures without trails. Models like the Sky-Watcher Star Adventurer, Move Shoot Move, or iOptron SkyGuider Pro are widely used by lens shooters.
Tracking Vs. Not Tracking
You can do both.
Without a tracker, you’re limited to short exposures – typically 5 to 15 seconds at wider angles – but that’s enough for star trails, the Milky Way, and bright DSOs.
With a tracker, you can take 1–2 minute exposures even at 135–200 mm, revealing fainter nebulae and more detail.
Both are valid paths. Starting untracked teaches you to work with the sky’s movement. Adding tracking later builds on those foundations.
Suggested Targets By Lens Type
| Lens | Good Targets |
|---|---|
| 14–24 mm | Milky Way core, star trails, constellations, Moon with landscape foregrounds. |
| 35–50 mm | Orion, Pleiades, Cygnus region, bright asterisms. |
| 85–135 mm | Andromeda Galaxy, North America Nebula, Heart and Soul Nebulae. |
| 200 mm | Triangulum Galaxy, Rosette Nebula, California Nebula, M81 & M82 galaxy pair. |
You’ll find you return to these targets again and again, improving technique and learning to process more subtly each time.
Final Thoughts: The Telescope Can Wait
A telescope is a wonderful tool – but it’s not the only one. In fact, many experienced astrophotographers still return to their lenses for widefield work, starfield mosaics, and sweeping Milky Way compositions.
Starting without one means starting with freedom. Fewer cables. Less setup time. More nights under the stars, capturing light that has travelled for millennia to reach your sensor.
You don’t need a telescope to become an astrophotographer. You just need a lens, a bit of patience, and a sky worth watching.